If you’re facing a mold issue, did you know that mold can start to grow on damp surfaces within 24 to 48 hours? To tackle this problem effectively and swiftly, you need to equip yourself with the right knowledge and tools for rapid mold removal. From identifying the source to employing essential steps and utilizing proper cleaning techniques, there are critical measures you must take to guarantee a successful mold remediation process. Stay tuned to discover the top tips that will help you swiftly and effectively eliminate mold from your environment.
Key Takeaways
- Immediately identify and address mold sources to prevent spreading.
- Seal off contaminated areas to contain mold spores.
- Wear protective gear like masks and gloves during removal.
- Thoroughly scrub surfaces with a bleach or vinegar solution.
- Dry and dehumidify the area to prevent mold regrowth.
Identify Mold Source
To begin the rapid mold removal process, start by thoroughly inspecting and identifying the source of the mold growth within your premises. Mold prevention is vital, especially in areas prone to water leaks. Inspecting hidden areas is essential as mold thrives in damp, dark environments. Begin by checking common moisture-prone spots such as basements, crawl spaces, attics, and behind appliances. Look for visible signs of mold, such as black spots or a musty odor.
When inspecting hidden areas, use a flashlight to illuminate dark corners and crevices. Pay close attention to areas near plumbing fixtures, windows, and roofs where water leaks are more likely to occur. Inspect any visible piping for condensation or leaks. Remember that mold can grow on various surfaces, including drywall, wood, carpets, and insulation.
If you discover mold, identify the source of moisture feeding the mold growth. Whether it’s a leaking pipe, a roof leak, or poor ventilation causing humidity buildup, addressing the water source is essential to prevent mold regrowth. Once you’ve identified and repaired the source of moisture, you can proceed with the mold removal process effectively.
Seal off Contaminated Area
Seal off the contaminated area using plastic sheeting and duct tape to prevent mold spores from spreading during the removal process. Containment measures are essential in making sure that the mold does not migrate to other parts of your home. Follow these steps to effectively seal off the area:
Containment Measures Table:
| Step | Instructions | Tools Needed |
|---|---|---|
| 1. Close Windows | Shut all windows and doors leading to the affected area to prevent spores from escaping. | None |
| 2. Cover Vents | Seal off HVAC vents with plastic sheeting and tape to prevent spores from spreading through air ducts. | Plastic sheeting, duct tape |
| 3. Seal Door Cracks | Use weather stripping to seal any gaps around doors to ensure a tight seal. | Weather stripping |
Use Protective Gear
Before addressing mold removal, it’s essential to prioritize your safety by wearing appropriate protective gear. Select gear like gloves, goggles, masks, and coveralls to shield yourself from harmful mold spores and cleaning chemicals. Ensuring you have the right safety equipment can prevent exposure and keep you safe during the remediation process.
It’s crucial to understand the extent of the mold infestation before starting removal efforts. Assess the affected areas to determine the scope of the problem and decide whether you can handle it yourself or need professional help. Identifying the severity of the mold growth will help you develop an effective removal plan and prevent future mold issues.
Safety Gear Importance
Ensure proper protection by donning the necessary safety gear before starting any mold removal tasks. Essential ventilation is vital in mold removal projects to ensure the dispersion of airborne spores. Begin by opening windows and using fans to create a flow of fresh air into the area. This will help reduce the concentration of mold spores in the air, making it safer for you to work.
Respiratory protection is critical when dealing with mold. Wear a respirator with a HEPA filter to prevent inhalation of mold spores, which can cause respiratory issues and other health problems. The respirator should fit snugly to your face to avoid leakage.
Additionally, disposable gloves and goggles are necessary to protect your skin and eyes from contact with mold and cleaning solutions.
Proper Gear Selection
When preparing for mold removal, it’s vital to choose the appropriate protective gear to secure your safety and minimize exposure to harmful substances.
Respirator selection is an essential step in guaranteeing you’re adequately protected. Look for respirators labeled N95 or N99 for mold removal, as they can filter out mold spores effectively. Make sure the respirator fits snugly over your nose and mouth to prevent any particles from entering.
In addition to respiratory protection, selecting the right protective suit is crucial. There are various protective suit options available, including disposable coveralls and full-body hazmat suits. Disposable coveralls are suitable for smaller mold removal projects, while hazmat suits provide extensive protection for larger-scale mold remediation. Ensure the suit covers your entire body and that there are no gaps where mold spores could enter.
Ventilate the Space
To effectively remove mold from a space, ensuring proper ventilation is essential.
Adequate airflow helps prevent mold spores from settling and multiplying in stagnant areas.
Airflow for Mold
Facilitate adequate airflow in the space to effectively ventilate it and minimize the potential for mold growth. Proper airflow plays a vital role in maintaining good air quality and controlling moisture, which are essential factors in preventing mold infestations.
To improve airflow, open windows and doors to create cross ventilation. This allows fresh air to circulate throughout the space and helps in reducing humidity levels. Additionally, fans or air purifiers should be considered to enhance air circulation further.
In areas prone to mold growth, such as bathrooms or basements, installing exhaust fans can be particularly advantageous. These fans help in removing excess moisture from the air, reducing the likelihood of mold formation.
Regularly inspect and clean air ducts to ensure unobstructed airflow. Proper ventilation not only aids in mold prevention but also contributes to a healthier living environment overall.
Importance of Ventilation
Proper ventilation is essential for maintaining ideal air quality and controlling moisture levels to prevent mold growth. Ventilation benefits your space by facilitating the exchange of indoor and outdoor air, helping to remove pollutants, odors, and moisture.
By guaranteeing adequate airflow, you can reduce the risk of mold infestations and promote a healthier environment.
Air circulation importance can’t be overstated when it comes to preventing mold. Good ventilation helps to keep humidity levels in check, preventing moisture buildup that fosters mold growth. By allowing fresh air to enter and stale air to exit, ventilation helps to dry out damp areas and inhibit mold spores’ ability to thrive.
To enhance ventilation in your space, make use of exhaust fans and open windows when possible. Consider installing a dehumidifier in areas prone to excess moisture.
Regularly inspect and clean ventilation systems to ensure they’re functioning efficiently. Adequate ventilation is a critical component in the battle against mold, so prioritize airflow in your efforts to maintain a mold-free environment.
Remove Mold-Infested Materials
You must carefully assess and identify all materials infested with mold in order to effectively remove them from the affected area. When dealing with mold-infested materials, important disposal is critical to prevent further contamination and ensure mold prevention. Begin by wearing protective gear such as gloves, goggles, and a mask to safeguard yourself from mold spores during the removal process.
To start, segregate the mold-infested materials from uncontaminated ones. Seal the contaminated items in plastic bags and discard them promptly. Remember to double-bag the materials to prevent mold spores from spreading. When handling mold-infested materials, avoid scattering or disturbing the mold to prevent the release of additional spores.
Cleaning techniques play a significant role in removing mold-infested materials effectively. Use a damp cloth or sponge with a mild detergent to wipe down non-porous surfaces like glass or metal. For porous materials such as fabric or wood, consider if they’re salvageable or need to be disposed of. It’s important to clean the surrounding areas as well to prevent mold regrowth.
Safety precautions like proper ventilation and ensuring the area is dry before beginning the removal process are essential. By following these steps diligently, you can effectively remove mold-infested materials and prevent further contamination in your living space.
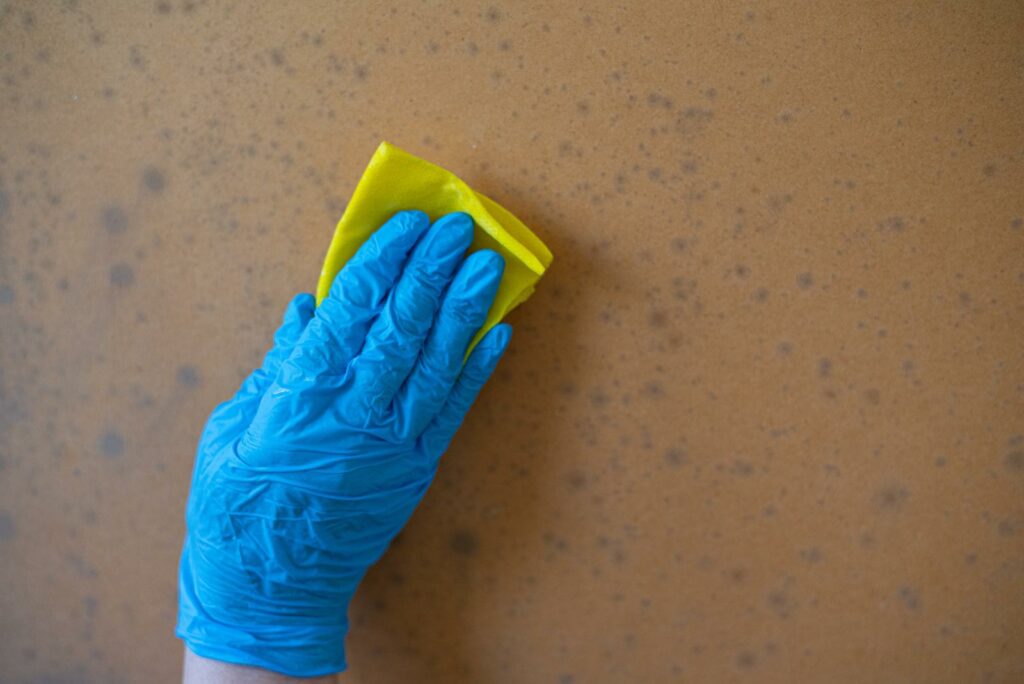
Scrub Surfaces Thoroughly
When addressing mold-infested materials, the next step involves scrubbing surfaces thoroughly to eliminate any remaining traces of mold contamination. Mold prevention is essential, and by following these steps, you can effectively remove mold and prevent its return.
To begin, gather the necessary supplies: a scrub brush, water, detergent, and a solution of bleach or vinegar for surface disinfection. Start by preparing the cleaning solution. Mix one cup of bleach with one gallon of water, or use a vinegar-water solution in equal parts. Put on protective gear such as gloves, a mask, and goggles to prevent exposure to mold spores and cleaning chemicals. Open windows or use fans for ventilation.
Dip the scrub brush into the cleaning solution and start scrubbing the mold-infested surfaces. Use firm pressure to make sure all mold residue is removed. Pay close attention to grout lines, corners, and crevices where mold can hide. Rinse the surfaces with clean water and dry thoroughly.
After scrubbing, inspect the surfaces for any remaining mold. If mold persists, repeat the scrubbing process until all traces are eliminated. Once the surfaces are clean, focus on mold prevention by fixing any underlying moisture issues. Regularly clean and disinfect surfaces to prevent mold from returning.
Employ HEPA Vacuum
How can you effectively utilize a HEPA vacuum to eliminate mold particles from surfaces further?
When employing a HEPA vacuum for mold removal, it’s important to make sure the vacuum is equipped with a High-Efficiency Particulate Air (HEPA) filter. This specialized filter can capture tiny mold spores as small as 0.3 microns, preventing them from being released back into the air during the vacuuming process.
To maximize the effectiveness of the HEPA vacuum, start by carefully inspecting the vacuum and filter for any signs of damage or wear. Regular vacuum maintenance, such as cleaning or replacing the filter as recommended by the manufacturer, is vital to ensure excellent performance. Additionally, make sure the vacuum bag is emptied and disposed of properly after each use to prevent mold spores from spreading.
When using the HEPA vacuum, focus on areas where mold growth is visible or suspected. Thoroughly vacuum all surfaces, including walls, floors, carpets, and furniture, to remove any mold spores present. Pay close attention to corners, crevices, and other hard-to-reach areas where mold tends to thrive.
Incorporating the HEPA vacuum into your mold removal routine helps eliminate existing mold particles and plays a significant role in mold prevention. By regularly vacuuming and maintaining a clean environment, you can minimize the risk of mold growth and ensure a healthier living space for you and your family.
Dry and Dehumidify Area
To effectively dry and dehumidify the area after mold removal, assess the moisture levels using a hygrometer to determine the extent of humidity present. Controlling moisture is essential in preventing mold growth as it thrives in damp environments.
Here are some steps to help you dry and dehumidify the area effectively:
Ventilation is Key: Open windows and use fans to improve air circulation, aiding in the drying process and reducing humidity levels.
Utilize Dehumidifiers: These devices are designed to extract excess moisture from the air, helping to lower humidity levels and create an inhospitable environment for mold.
Remove Wet Materials: Carpets, insulation, or furniture affected by mold or moisture should be promptly removed to prevent further mold growth.
Monitor Continuously: Regularly check and monitor humidity levels using a hygrometer to ensure that the area remains dry. Consistent monitoring is essential in preventing mold re-infestation.
Final Thoughts
You can quickly eliminate mold infestation by swiftly identifying the source of mold, sealing off the contaminated area, wearing protective gear, ventilating the space, scrubbing surfaces thoroughly, using a HEPA vacuum, and drying the area effectively.
Remember, time is of the essence when dealing with mold. Act promptly and efficiently to prevent further spread and potential health risks. Time is mold’s ally, so make it your enemy.