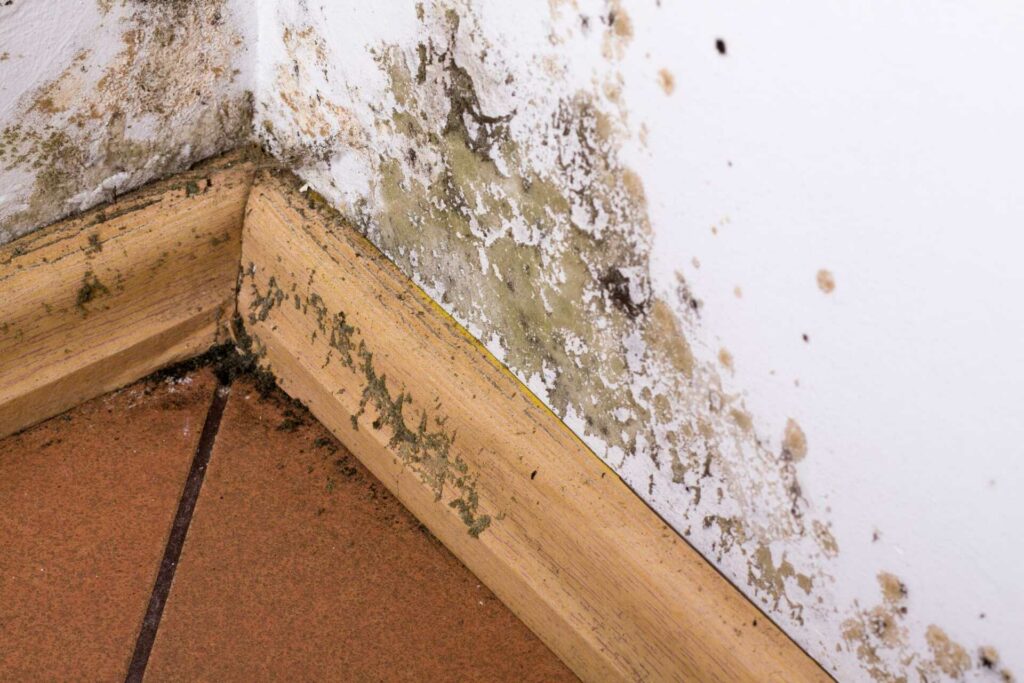
To effectively tackle mold post-water damage, you need to employ the three best methods for removal. From thorough cleaning and disinfection to proper containment strategies, these steps are fundamental in ensuring a mold-free environment. But what exactly are these methods, and how can they help you restore your space to its pre-damage condition? Stay tuned to discover the key strategies for successful mold removal after water damage.
Key Takeaways
- Thorough cleaning and disinfecting are essential.
- Proper containment prevents mold spread.
- Use a HEPA vacuum for effective mold removal.
- Ensure surfaces are completely dry.
- Employ fans and dehumidifiers for drying.
Assessing the Mold Infestation
To accurately evaluate the extent of mold infestation, begin by visually examining all areas affected by water damage. Mold inspection is vital to determine the seriousness of the issue and identify all affected areas.
Look for visible signs of mold growth, such as black or green spots on walls, ceilings, or other surfaces. Pay close attention to areas that have experienced water damage, as mold thrives in damp environments.
In addition to visual inspection, moisture detection is essential in evaluating mold infestation. Mold requires moisture to grow, so identifying and addressing sources of water intrusion is key to preventing further mold growth.
Utilize moisture meters to detect hidden water pockets within walls, floors, or ceilings. Areas with high moisture levels are more prone to mold infestation and should be thoroughly examined.
Implementing Proper Remediation Techniques
Begin the mold remediation process by thoroughly cleaning and disinfecting all affected surfaces using appropriate cleaning agents and tools. Proper containment is vital during this stage to prevent the spread of mold spores to uncontaminated areas. Seal off the affected space using plastic sheets and duct tape to create a barrier.
When it comes to effective cleaning techniques, start by vacuuming the affected areas with a HEPA vacuum to remove any loose mold spores. Follow this up by scrubbing all surfaces with a mixture of water and detergent. For non-porous materials, such as tiles or glass, use a solution of water and bleach or a commercial mold remover. Remember to wear protective gear, including gloves, goggles, and a mask, to safeguard your health during the cleaning process.
After cleaning, allow the surfaces to dry completely. Proper ventilation can help expedite the drying process and discourage mold growth. Monitor the area for any signs of recurring mold and address them promptly.
Preventing Future Mold Growth
To prevent future mold growth, regularly inspect your home for any signs of water leaks or excess moisture that may encourage mold development. Keeping moisture under control is key to mold prevention.
Ensure proper ventilation in areas prone to dampness, like bathrooms and basements. Good airflow helps to dry out any excess moisture and discourages mold from taking hold.
Additionally, cleaning surfaces regularly with mold inhibitors can help prevent spores from settling and growing.
When dealing with water damage, it’s vital to employ effective drying techniques. Use fans and dehumidifiers to expedite the drying process and prevent lingering moisture that could lead to mold growth. Carpets, walls, and furniture should be thoroughly dried to avoid mold colonization.
If water damage is extensive, consider contacting professionals who have the expertise and equipment to ensure thorough drying.
Incorporating these preventive measures into your routine maintenance can save you from the hassle of dealing with mold infestations in the future.
By staying vigilant and proactive in moisture control, ventilation, and proper cleaning and drying techniques, you can create an environment that’s unwelcoming to mold growth.
Summary
Now that you know the three best methods for mold removal post-water damage, you can take action to protect your home.
You can ensure a safe and healthy living environment by evaluating the mold infestation, implementing proper remediation techniques, and preventing future growth.
Don’t wait until it’s too late – start tackling the issue now to avoid potential health risks and costly repairs in the future.
Your home’s well-being depends on it.

